Instant Pot Yogurt (Step by Step)
This Instant Pot yogurt recipe is super simple and has been part of my weekly meal prep routine for years. You’ll only need 2 ingredients and some patience to transform whole milk into delicious yogurt in just a few hours following my clear step-by-step instructions.
Save money: Making yogurt at home in the Instant Pot is another great way to make the most of this fabulous kitchen appliance. I’m sure you can tell that I love mine! You won’t need to buy expensive store-bought yogurt for many years to come.
Control ingredients: You can ensure that your yogurt is made with only the best whole milk and yogurt starter. No artificial additives are needed.
Add flavors: Experiment with different fruits, sweeteners, and extracts such as my vanilla syrup to create flavored yogurts the whole family will enjoy.
If you loved this Instant Pot Yogurt Recipe or any other recipe on my website, please leave a 🌟 star rating below. Thank you!
Instant Pot Yogurt
Ingredients
- 1 gallon whole milk
- 4 tbsp plain yogurt
Instructions
- To sterilize the Instant Pot, secure the lid, close the pressure-release valve, and select the high pressure function for 5 minutes. Once finished, manually release the pressure using an oven mitt or towel to protect your hand from the escaping steam. Pour out the water.
- Add the whole milk into the Instant Pot inner pot. Use the yogurt function to boil the milk.1 gallon whole milk
- Remove the inner pot and let the milk cool to 110F or 43C using a thermometer. The exact temperature is crucial for the live cultures to thrive. You can speed up this process by creating a cold water bath in the kitchen sink.
- Stir in the plain yogurt to the cooled milk.4 tbsp plain yogurt
- Pour the mixture back into the Instant Pot inner pot. Set the yogurt function for 8 hours. For a tangier yogurt, increase the incubation time.
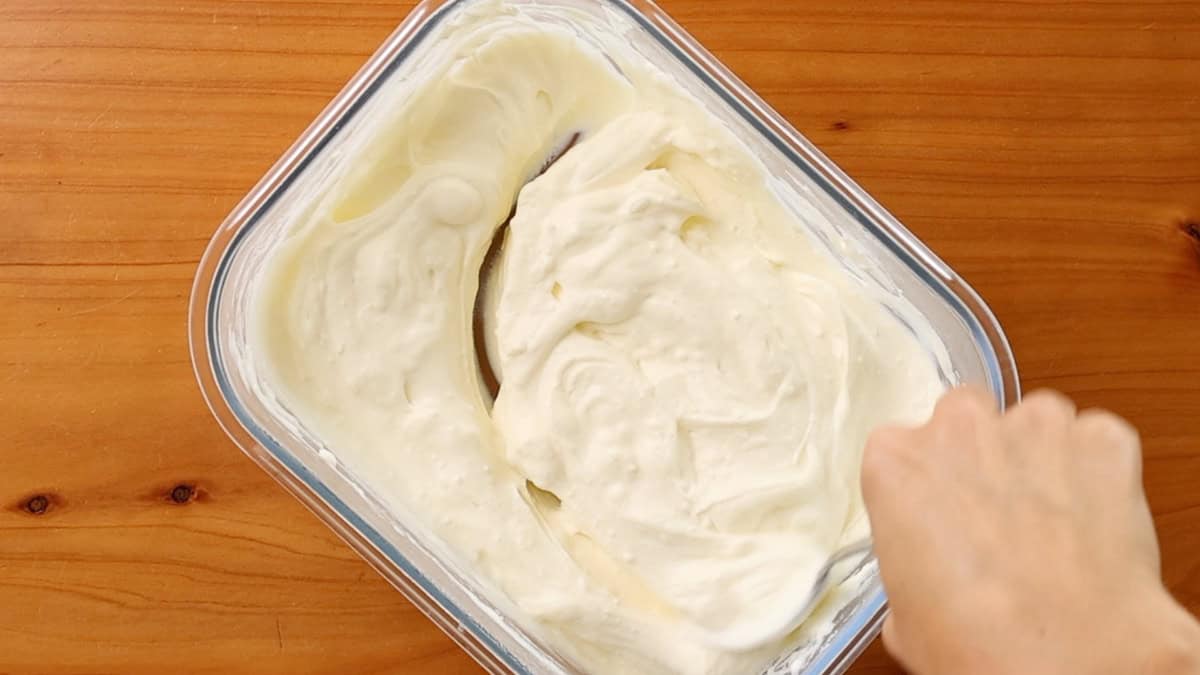
- Optional: I strain the finished yogurt via a cheesecloth-lined sieve to make Greek-style yogurt, saving the whey in a bowl below for other recipes.
- Refrigerate the yogurt for at least 2 hours before serving.
Video
Notes
Nutrition
Ingredients and substitutions
See the recipe card for full information on ingredients and quantities.
- Whole milk: For the creamiest yogurt, whole milk is best. You can substitute with 2% milk for a slightly lighter version or skim milk for a lower-fat option.
- Plain yogurt: This acts as your yogurt starter, providing the essential live cultures needed to make yogurt. I use homemade yogurt from my last batch but store-bought plain yogurt works just as well. Just make sure it’s fresh and not towards the end of its expiry date.
Pro tip
Make sure to have two seals available for your Instant Pot as it easily absorbs the flavor of savory dishes which doesn’t work for yogurt making. I have a dedicated blue seal solely for yogurt making. For reference, I’m using the (affiliate link to follow) 3 Quarts (5.7l) Instant Pot Duo 7-in1 Multicooker in this recipe.
How to make yogurt in the Instant Pot

1. Sterilize the Instant Pot by setting the valve to sealing and pressure cooking 1 cup of water for 5 minutes on high pressure. Carefully release the steam and you’re ready to start making yogurt.

2. Add the milk to the inner pot, set the valve to release, and select the boil function on the yogurt menu.

3. Remove the inner pot and cool down the milk to 110F or 43C. Use a cool water bath to speed up the process if needed. Stir the yogurt into the milk.

4. Return the inner pot to the Instant Pot, set the valve to release, and choose the 8 hr function on the yogurt menu.
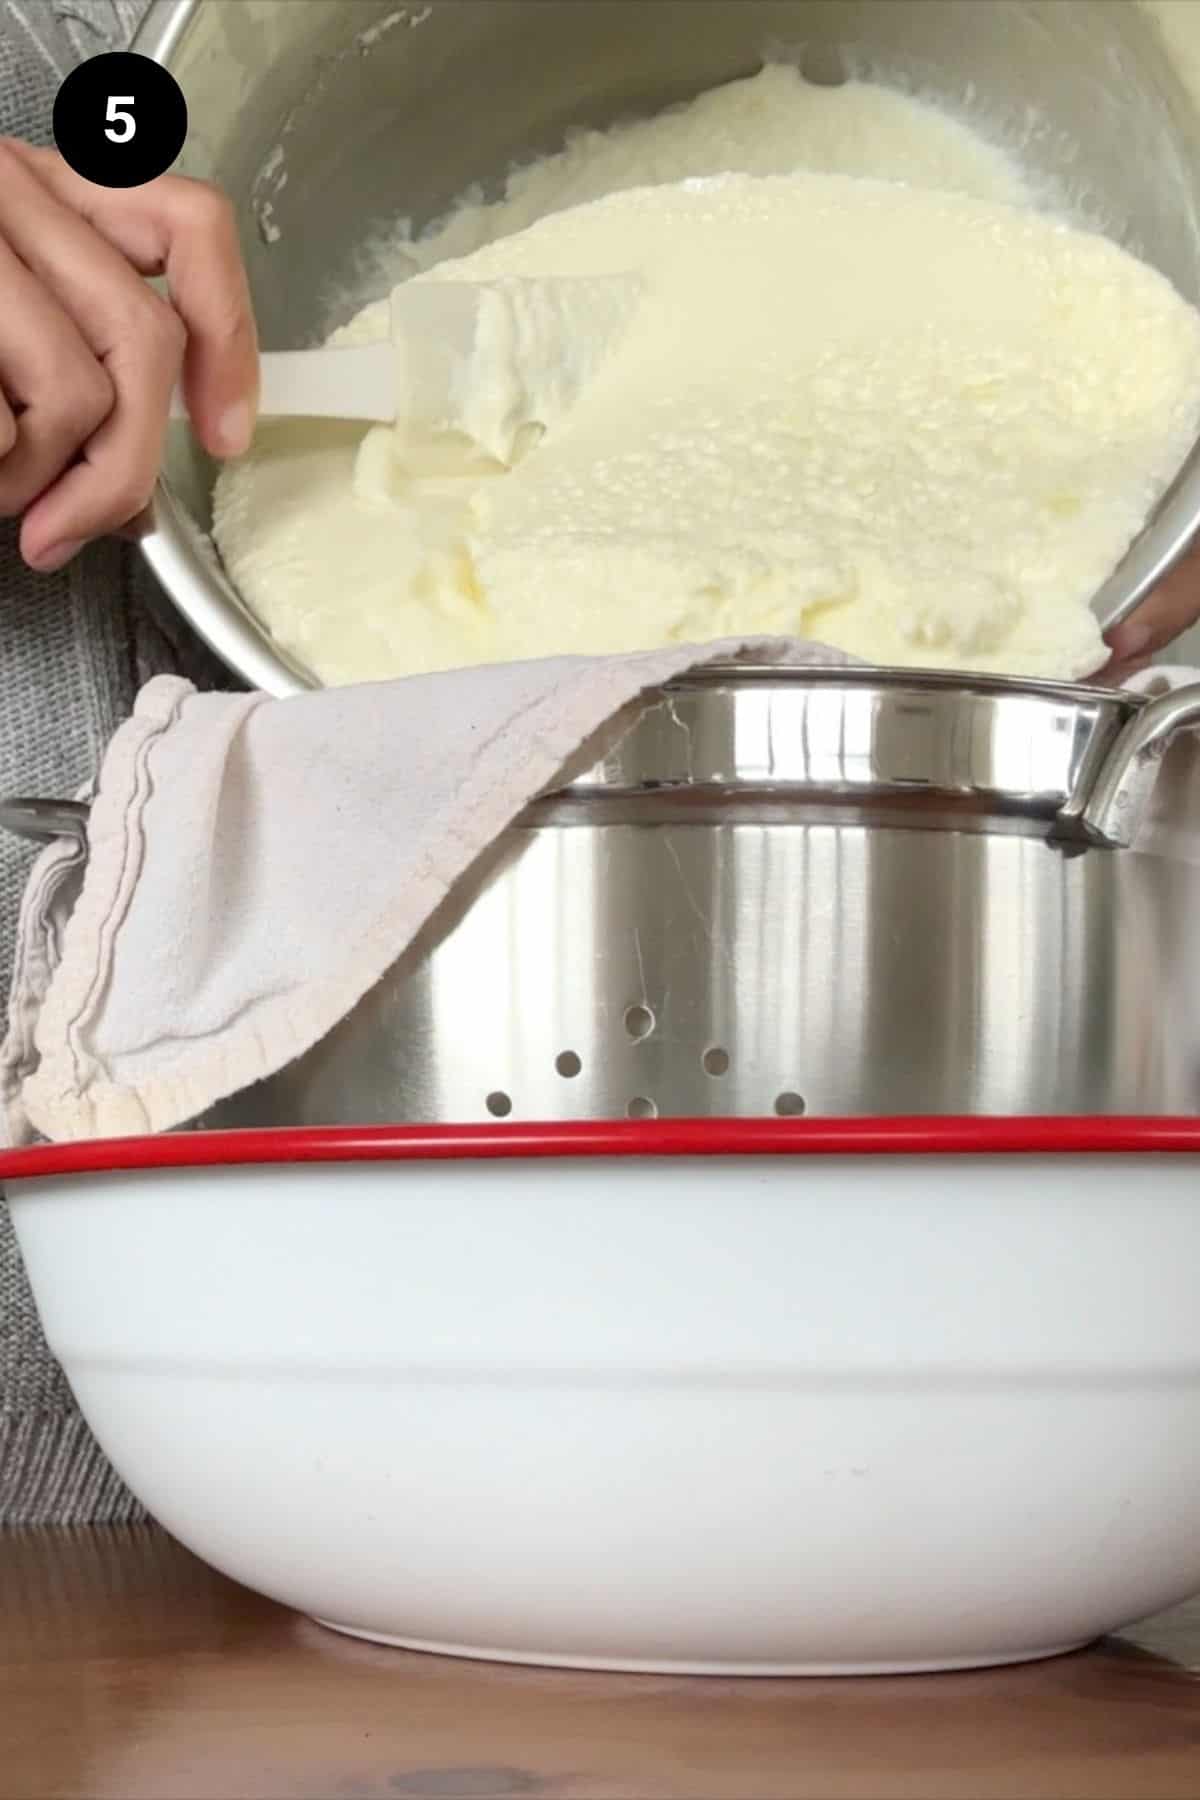
5. After 8 hrs the yogurt will be set and you can refrigerate it for it to set further or strain it through a lined colander if you prefer a thicker Greek yogurt.

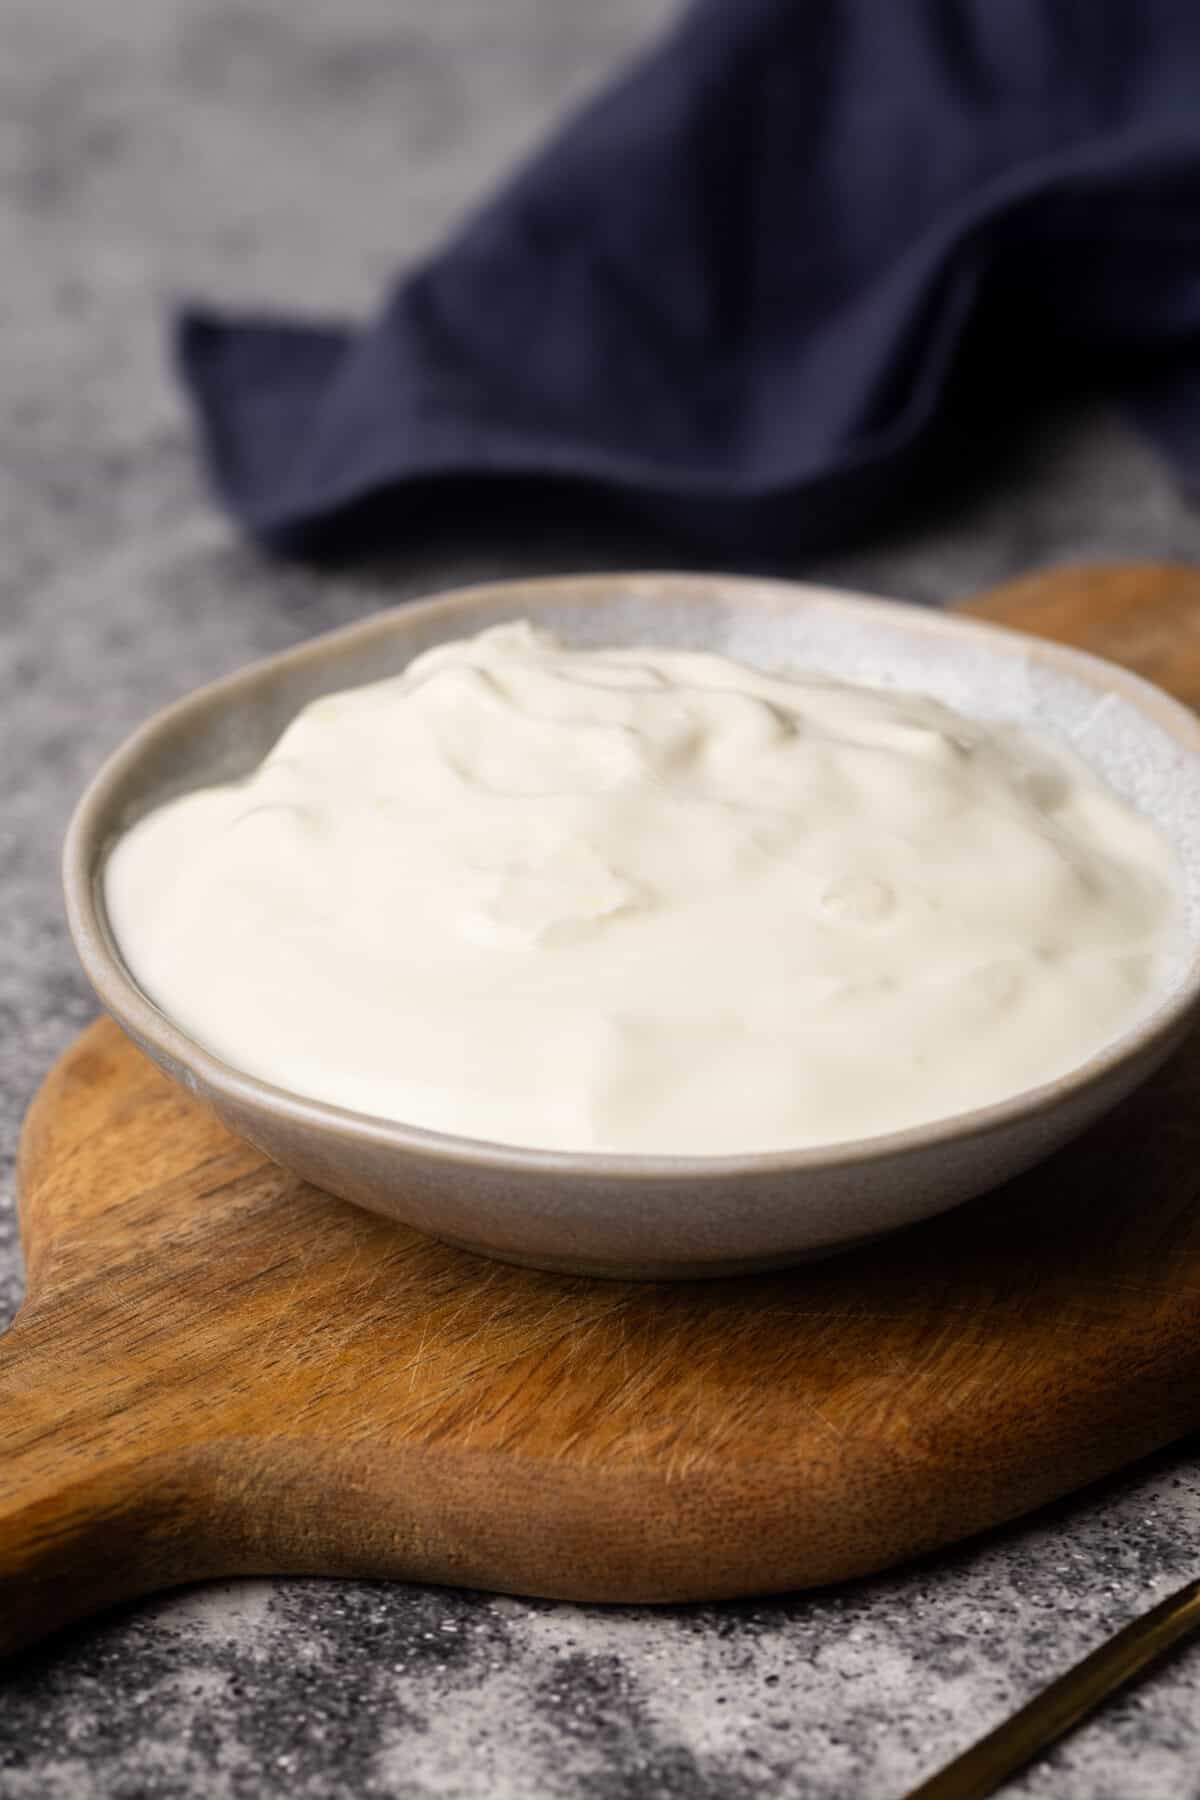
6. Transfer the yogurt into an airtight container and store it in the fridge for up to 2 weeks.
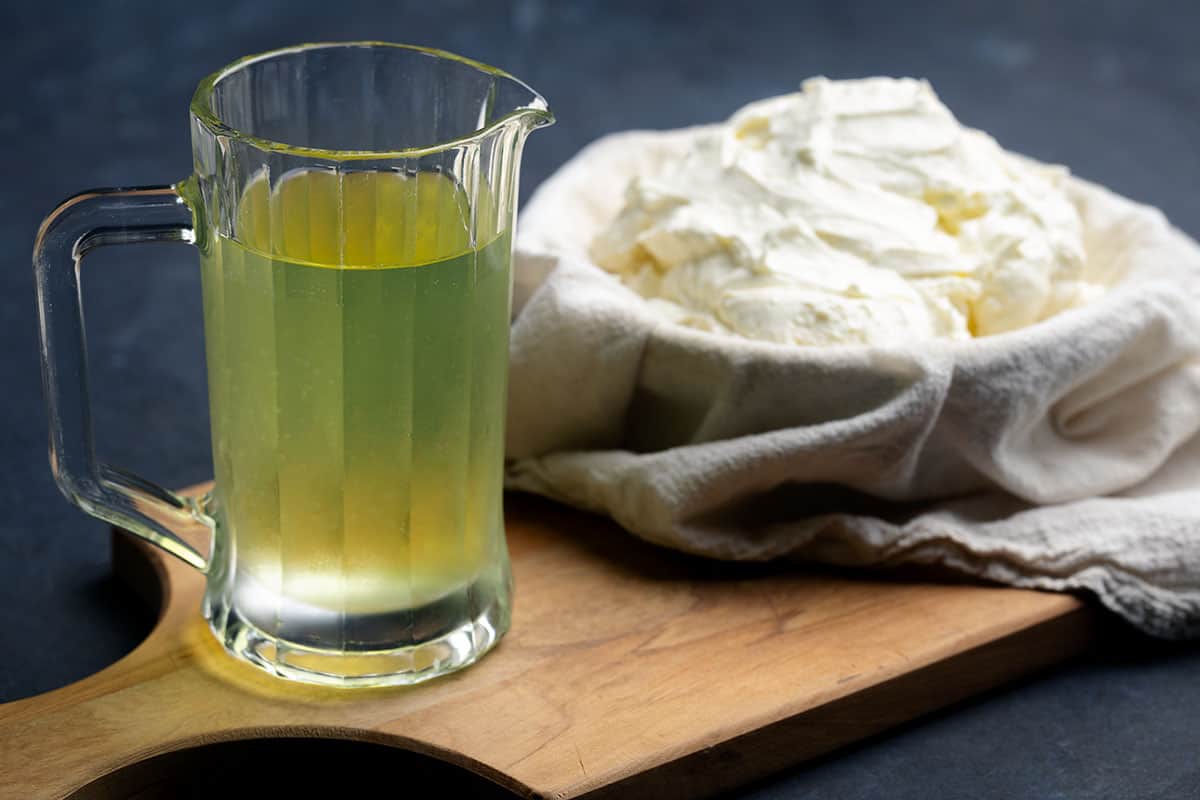
Leftover whey ideas
If you’re straining the yogurt to make Greek yogurt you’ll be left with excess liquid whey which can be used in a variety of baked recipes. Here are some of my favorites ways to use whey:
Delicious ways to use Greek yogurt
Breakfast: Enjoy your homemade yogurt as a breakfast treat with fresh fruit and granola or make Turkish eggs. It’s also delicious as a snack or dessert with honey, nuts, or stewed berries.
Dessert: Turn this yogurt into a delicious dessert and make yogurt bark with berries. You can even use it as a base for smoothies or include it in cakes such as my baked German cheesecake or Greek yogurt chocolate cake.
Sauce: Think tzatziki or harissa yogurt if you want to add it to main meals. A yogurt based salad dressing or marinade also adds freshness to a variety of salads and meats.
Recipe FAQs
Increase the incubation time or strain the yogurt to remove whey proteins for a thicker texture.
Absolutely! Save a small amount of your finished yogurt to use as a starter for your next batch.
It typically lasts for about 2 weeks when consistently stored in the refrigerator. Excess whey may form on the top during that time, simply strain it off. If the yogurt smells off, tastes too sour, or has an unusual texture, it’s best to discard it.
Thanks for the Yogurt recipe. One question, Do you keep the boiled water in the instant pot or throw it out.
You throw it out. It’s just needed to sterilize the pot.
Easy to follow clear instructions!